shrockworks xterraparts
XOC Decal
Newest Members
Glim, ChossWrangler, Patman, ChargedX, Randy Howerton
10084 Registered Users
Recent Posts
ECXC 2024!
by Tom
23/04/24 04:27 PM
Shout Box

Who's Online
0 registered (), 131 Guests and 3 Spiders online.
Key: Admin, Global Mod, Mod
Topic Options
Rate This Topic
#292509 - 30/12/07 08:50 PM My CB install
Anonymous
Unregistered


Alright, so I have so many plans that I need to catch up on some small stuff. With that said here is MY install!

First off I got the Cobra 18 WXST II

There are 2 versions made.

Here is the first one


And here is the new and improved version,

The Cobra 18 WXST II


Improvements on the later model include

-10 NOAA Weather Channels
-40 Channel scan
-Dual Channel watch
-Instant channel 9 and 19

Here is what the back of it looks like


There are 3 wires coming out of the back, they are power, ground, and memory


I cut them all off


here there are, separated from their mother....


I stripped them and threw some pins on there


Top
#292510 - 30/12/07 08:57 PM Re: My CB install
Anonymous
Unregistered


and made a little plug


Notice I made a whole bunch of them


I wanted to make my own harness and make the install as clean as possible.

Notice I snipped off the inline fuses? Well after the above plug, I ran those fuses someplace else because I did not want to dig through my dash to get to them. So, the negative continued on back toward the battery.

The power and memory went to a different kind of fuse holder.These are really cool. the top screws off and you throw a fuse in there.


Took a step drill and drilled 2 holes


I did have to do a little modifying which included drilling and cutting this part on the inside


So the power and memory went to and from the fuses back to the plug where it met up with the ground wire once again


Top
#292511 - 30/12/07 08:59 PM Re: My CB install
Anonymous
Unregistered


So I also decided to run a little fan to draw hot air away from the CB. I got this from Radio Shack. it was either $18 or $26. Can't remember.


I tapped the ground into the existing ground, and (not according to this pic), I tapped the power into the cigarette lighter power. The fan comes on whenever the key is in the acc., running, or in the on position. I almost always run at least the stereo, and I run the CB while I am in town to talk to local X friends.


Here is a better Idea of how it is set up.


From that plug, I ran all the wire through plastic spiral casing. At this point I was all out of properly color coded wiring, so I tied 2 loops in power, one loop in memory, and no loops in the ground


So I mounted the fan right on the side so air is drawn through.


Finally I routed it through the dash, the grommet, and the eng. compartment to the battery. You will see the three ring terminals going straight to the positive and negative. Of course the memory and power went to positive while the ground went to negative.


At this point, I disconnected the plug from the back of the CB. The reason I did this, is because I wanted to mount it in the dash so I had 2 single DIN consoles in the stock location.

Ok so my goal was to get both of these consoles to fit in the exact same spot as the old DVD player


Top
#292512 - 30/12/07 09:01 PM Re: My CB install
Anonymous
Unregistered


There were A LOT of small, tedious things that I had to do to get this to work.

Drill another hole in the dash.....


I also bought two of these little piece from a stereo shop,


and cut them to fit. I HAD to mount this diagonally for this to work.


The CB doesn't come with that hole that the knob is screwed into. I actually had to take the casing off of the CB, and drill and tap 2 identical holes on either side, so it mounted to the bracket. I could see all of the circuit boards and everything. I also took the casing to the grinding wheel and cut a triangle on the top and bottom of the casings on either side so that I could access this hole.

NOW the bracket goes on.......


Next, I finally installed it! It took me quite some time to get all of the stereo put together and installed but it works perfect.

I mounted it and threw it all back together. Here are some pics of the final product.


and a close up of how clean the fuse mount went.


SPECIAL THANKS TO (in no particular order) Co-WOODY and GT GALLOP for the great advice and the hours on the phone helping me with my obsessive compulsion for trying to make it as clean as possible! Thank you to everyone else who helped me on the threads as well!!!!

Hope you enjoyed!-James

As far as the antenna and the coax go, I went super temporary in waiting for other mods.....Yup, can't open the hatch....

Where does everyone have their Mic mounted?

Top
#292513 - 30/12/07 11:17 PM Re: My CB install
Anonymous
Unregistered


Nice job. go ahead and punch some holes in your CB housing so that fan is actually useful and you'll be golden.

NOTE: remove housing before punching holes.

A lot of custom car shops have louver punches that would make quick work of a few vents.

First time with molex? (I noticed the brand new Radio Shack extractor there still in the package, which is quite possibly the BEST one for the standard size molex...) I hope you crimped those on with the proper crimpers, or soldered them. They are notorious for working themselves loose unless used with the proper crimper.


http://www.molex.com/tnotes/crimp.html

Top
#292514 - 30/12/07 11:57 PM Re: My CB install
Anonymous
Unregistered


Dude, Adam, you are THE MAN at this stuff!!!! Yes, it is my first time using Molex. Point me in the right direction of the correct crimpers......

I used channelock crimpers


Also, louvres.....Where to put them? In the top I am guessing? Can't really put them in the side because the Chassis of the CB is right there.

Top
#292515 - 31/12/07 04:23 AM Re: My CB install
Anonymous
Unregistered


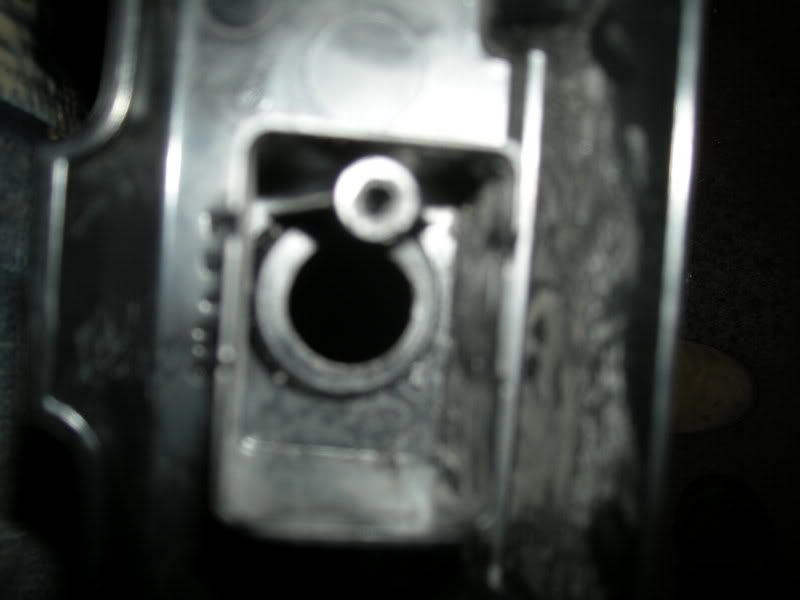
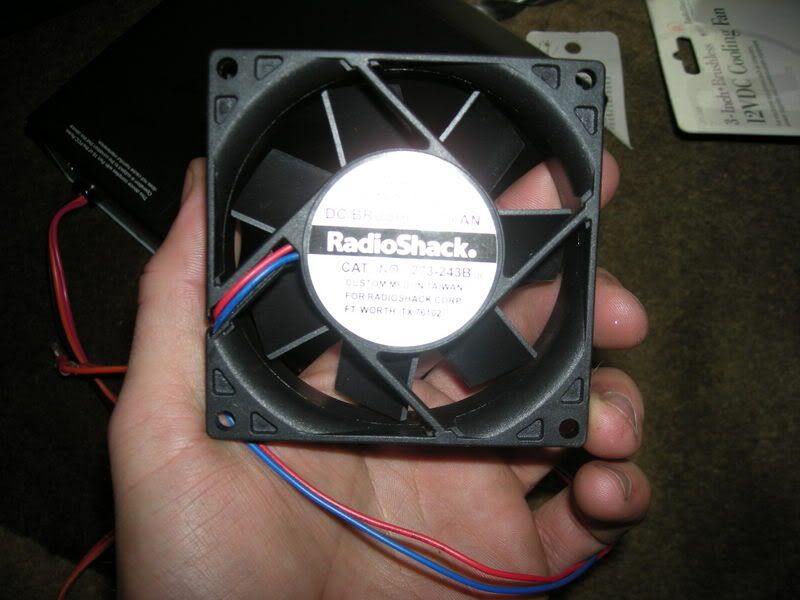
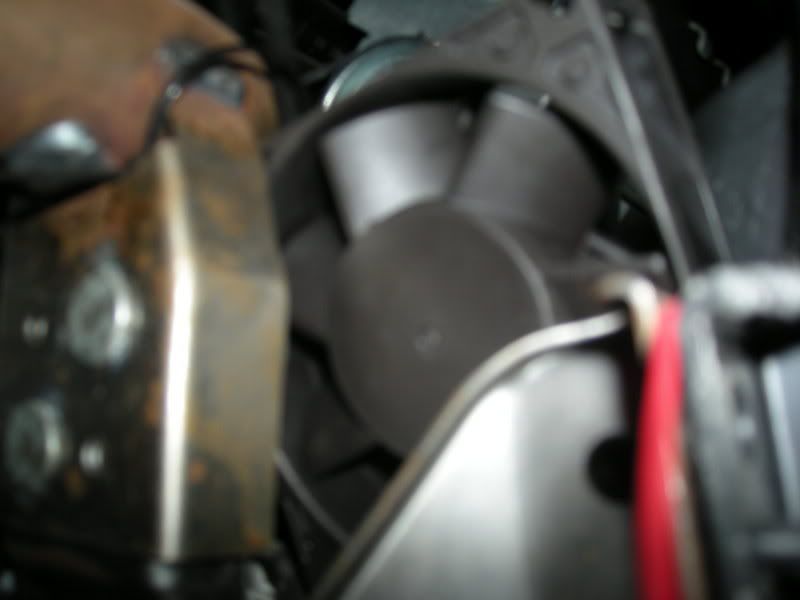
Yea, any holes in there to vent the enclosure if you're intent on using the fan.
I really don't think it's necessary, as you really never will abuse the duty factor with normal usage I use the same radio, mounted in the same configuration you have there.

Just remember to remove the cover before punching holes in it.

I am thinking that fan is a little much, and I hope you've taken steps to keep wires out of it as that will ruin the fan rather quickly.

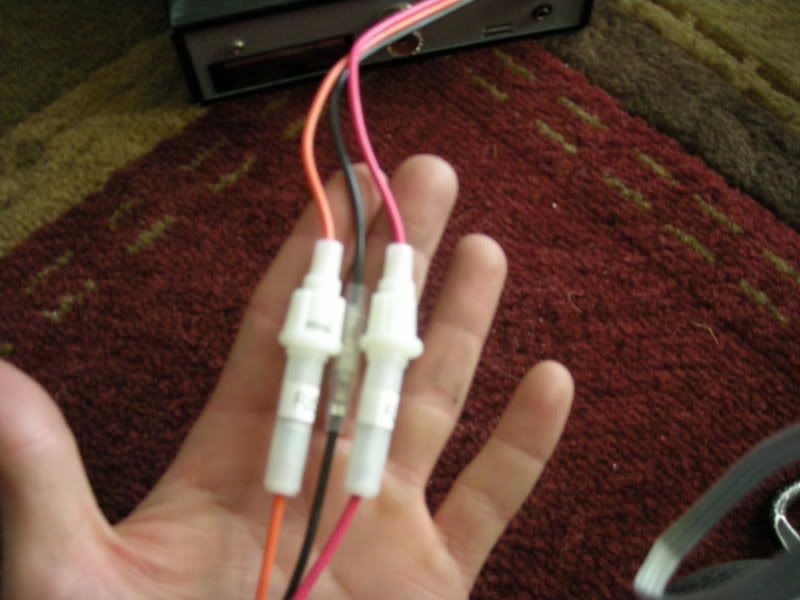
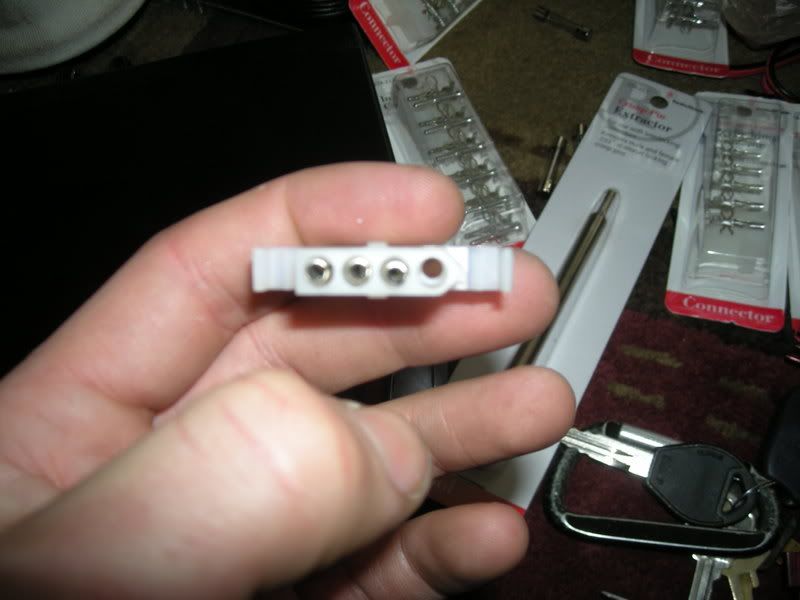
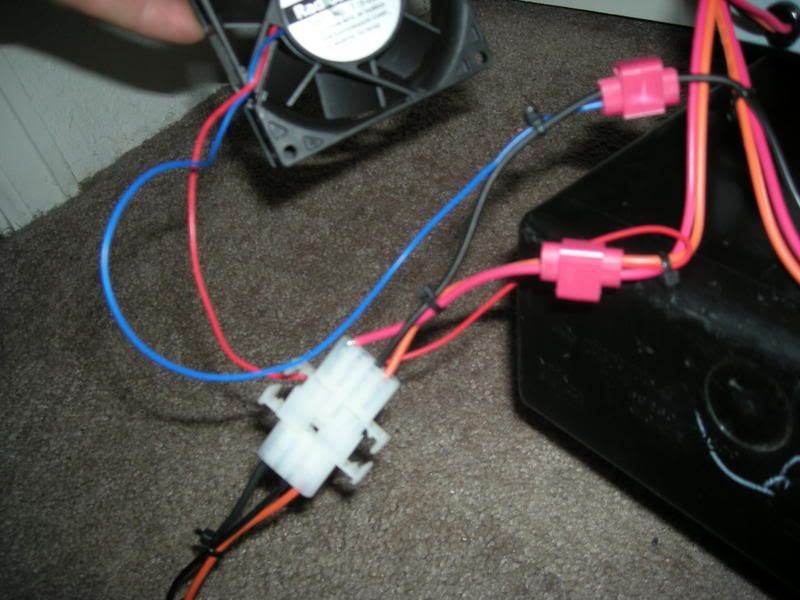
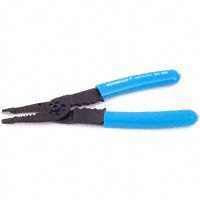
The proper crimper actually rolls those tabs into the conductor and insulation. I use a Greenlee hand crimper and dies, but there are a few cheaper ways to do these, as a Greenlee 8 or 9" frame and a couple sets of dies will put you a little over $150, and for someone that does very little electrical or isn't a serious hobbyist it's a little excessive.

I have used this one:
http://www.itcelectronics.com/product_info.php?cPath=1177_1257&products_id=9981

And it's a VERY good crimper, Get a insulated and non insulated die and you can crimp anything you should run into

Or the ratchet crimper on this page should do a good job.

http://www.action-electronics.com/molex.htm

I just don't trust a regular compression crimper. The dies used for a closed end vs. an open end connector are vastly different. and they almost always never actually use all of the available crimping surface.

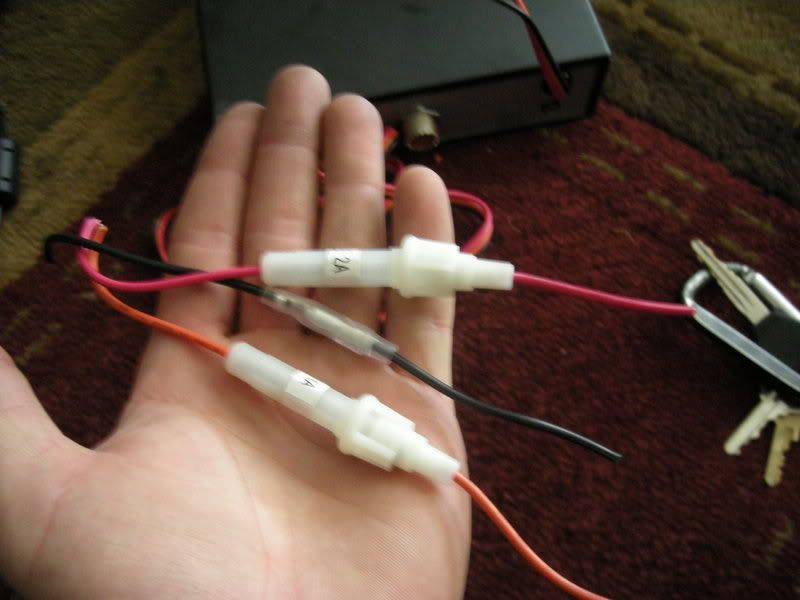
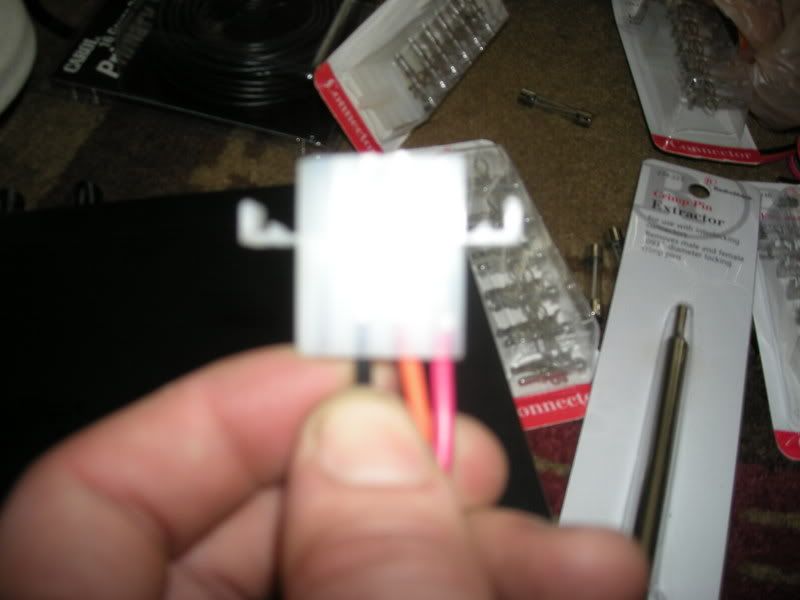
I still solder the critical ones, as they are quite important to have done correctly. And remember, Crimp, then solder. wink (And heatshrink if so inclined.)

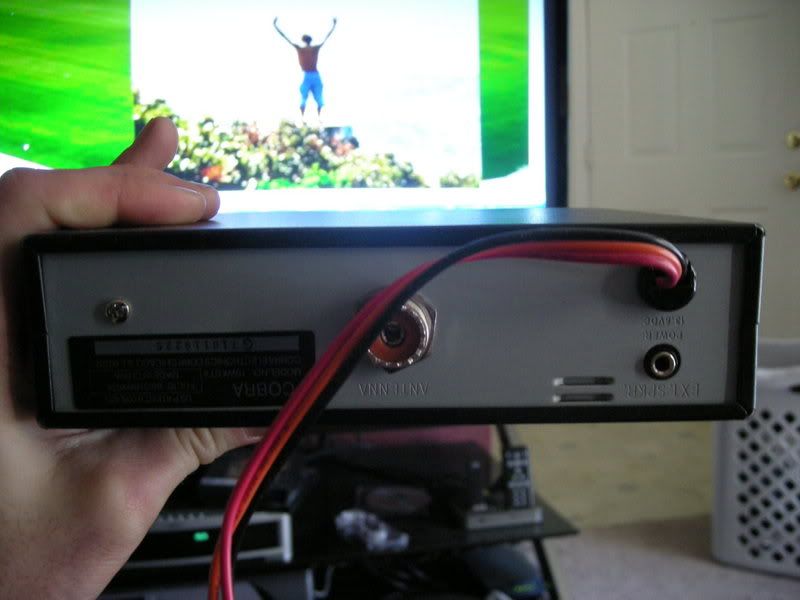
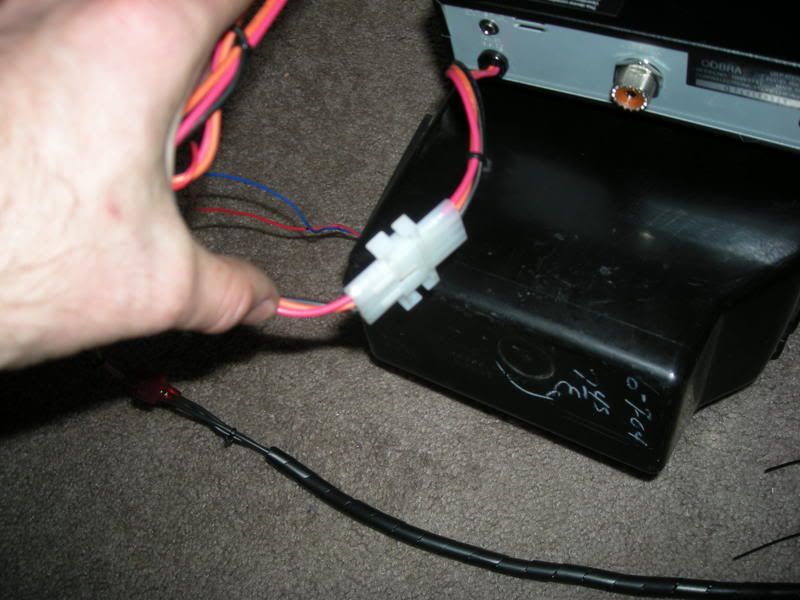
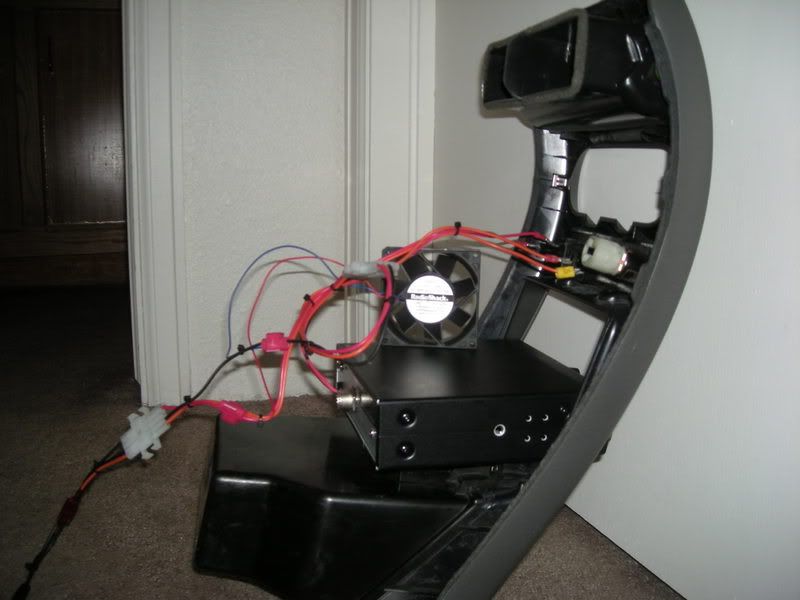
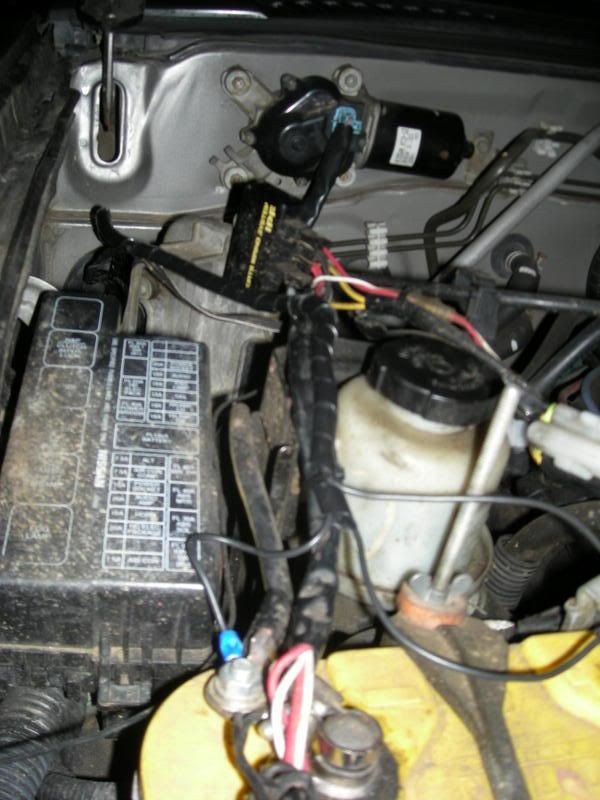
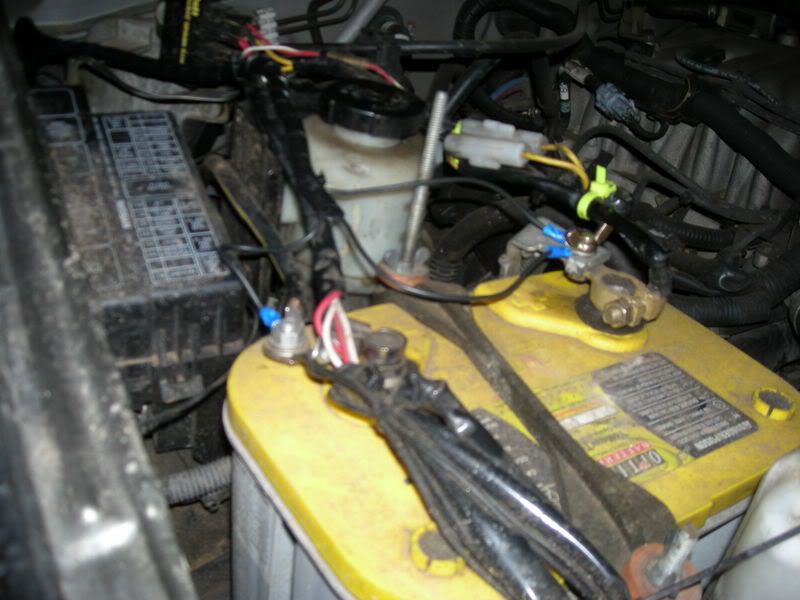
Ok, my concerns with what you have done there. You have broken one cardinal rule, You have not fused your power wires within 8" of the battery... What most people think are that fuses protect the device. This is incorrect. Fuses protect the conductors from the device and overcurrent due to shorts.

If the device fails and causes a short, the fuse will fail where you have it, but if you somehow chafe a wire between the fuse and battery, you have no way to interrupt the current and this could cause a fire as you're unprotected between your dash and the battery (which can create 300A in very short order that is very sufficient to make smoke).

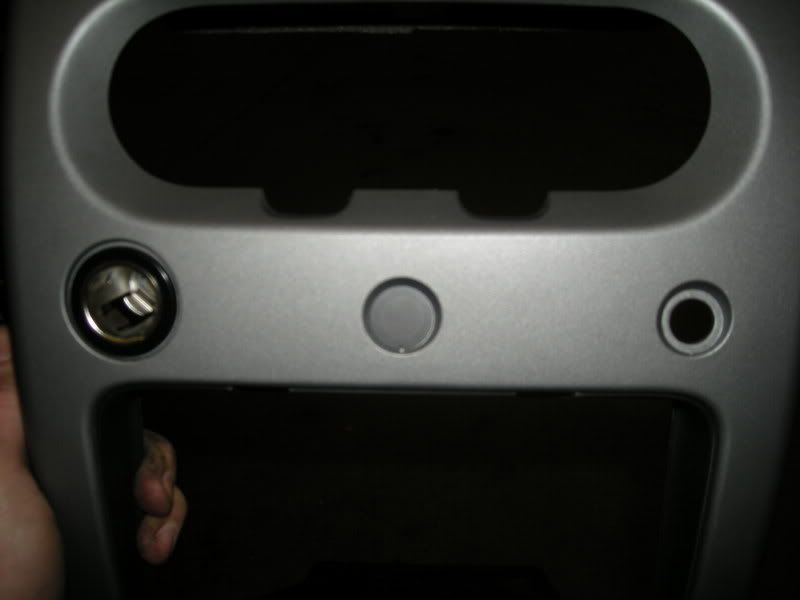
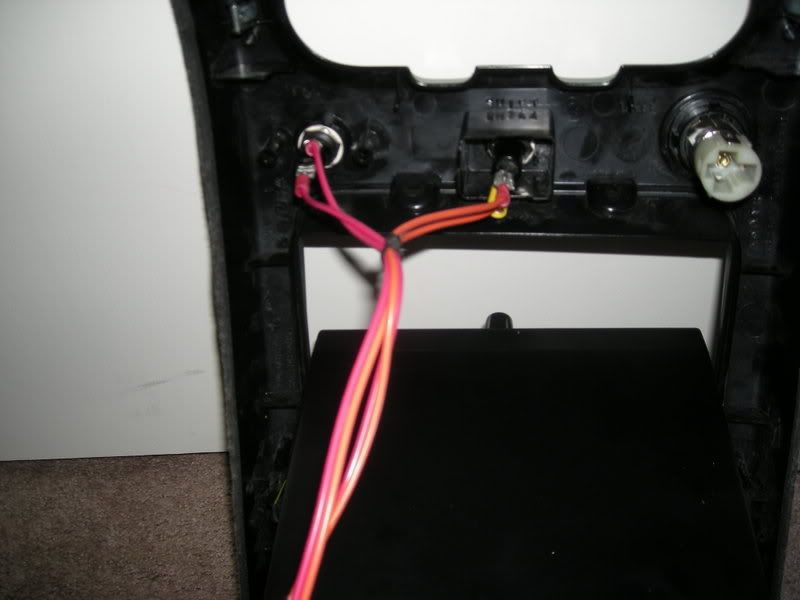
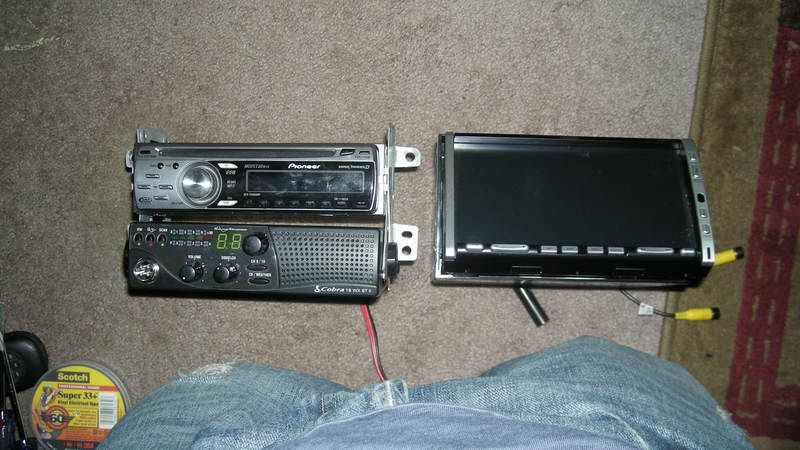
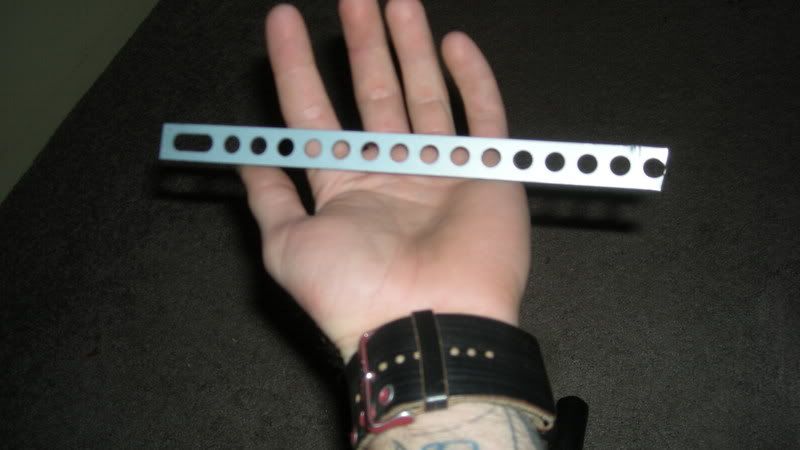
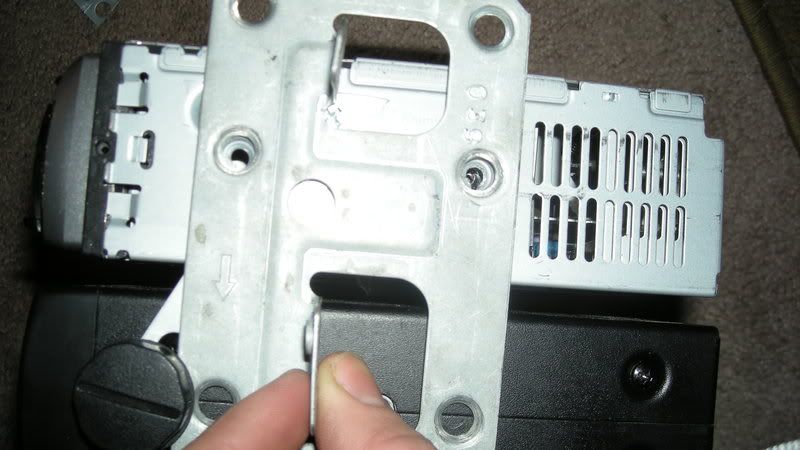
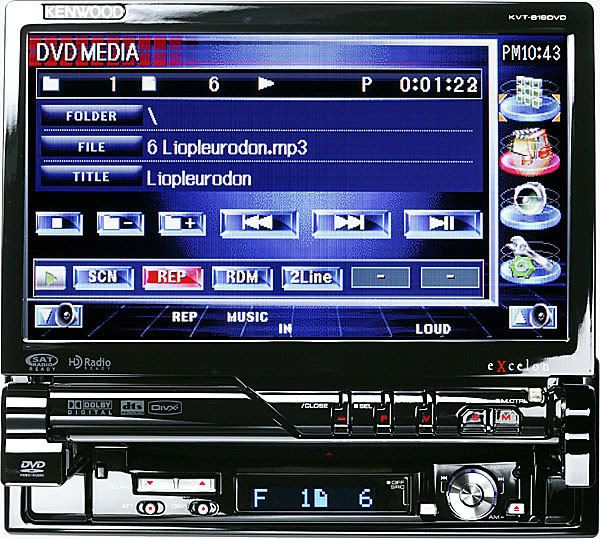
The plumbers tape was a good idea, the 2000-01 brackets are different, and I just drilled holes in the factory brackets for my install wink

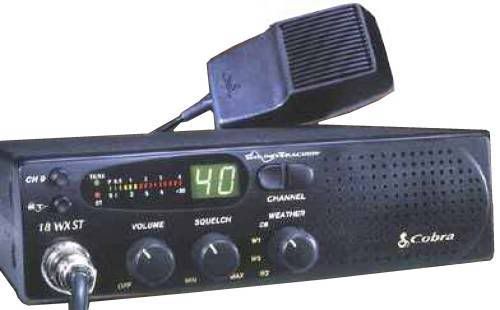
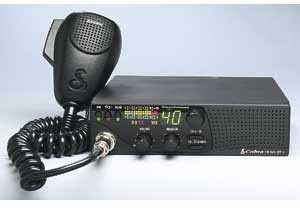
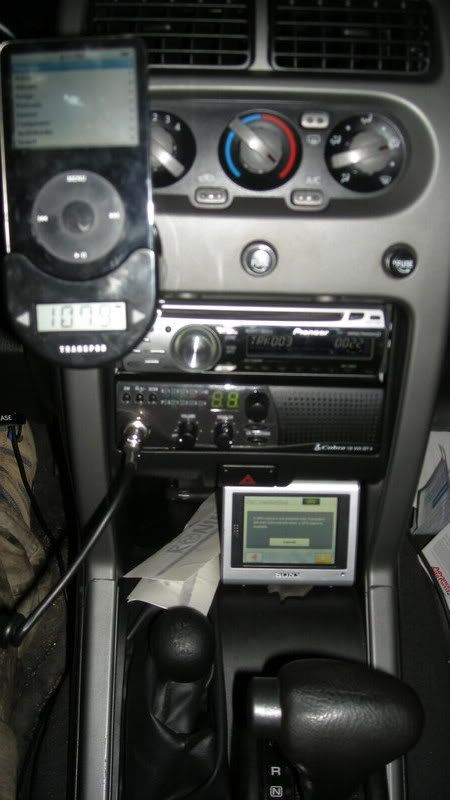
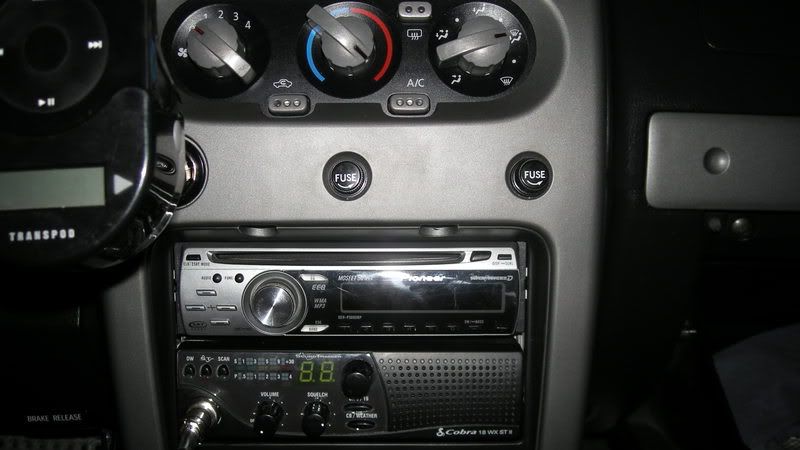
Another cool thing to do with that radio is add a roger beep. It's really easy. Mine is actually a Morse Code "K" You can pick these up from any CB shop, They will even put them in for ya.

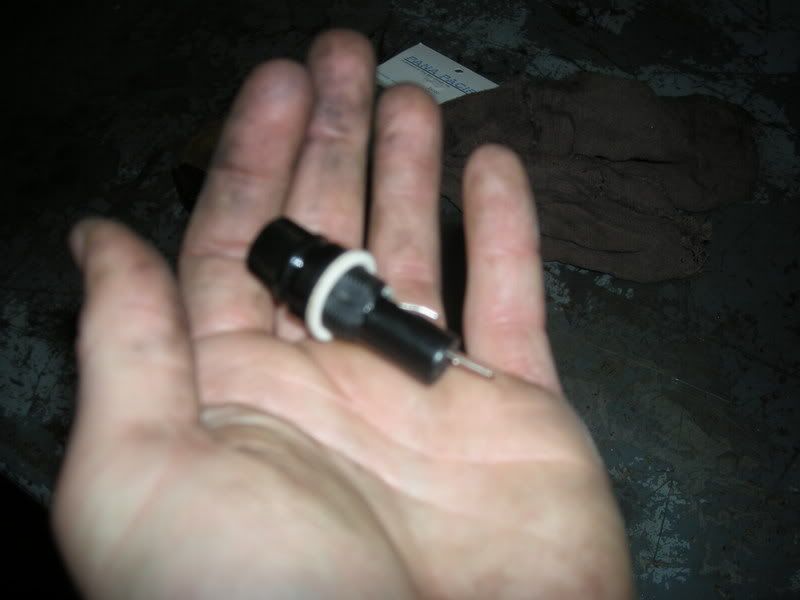
And make sure you tune that antenna!

Top
#292516 - 31/12/07 06:46 AM Re: My CB install
Anonymous
Unregistered


cool Fantastic documented installation Soccer--
--I'm just to lazy, I put mine in 2 yr's ago

--

--It doesn't really interfere with the rearview mirror, the knobs are loose--

-- [Wave] [Wave] --JIMBO

Top
#292517 - 31/12/07 09:25 AM Re: My CB install
Anonymous
Unregistered


Oh yea, take a sharpie and color those little tabs on the side of your CD player next time you have it out. That shiny stuff bothers the fool out of me.

(And you thought you had OCD...)

Top
#292518 - 31/12/07 10:02 AM Re: My CB install
Anonymous
Unregistered


Thanks all and Thank you Adam for the useful information! As far as coloring that, not gonna happen. Getting this for myself.....


You can program 2 buttons on there on the touchscreen to turn something on or off. I think I am going to do it with my lighting.

Top
#292519 - 31/12/07 03:54 PM Re: My CB install
Anonymous
Unregistered


Very cool. You have a nice install, you thought about what you wanted and went for it.

I have too much junk mounted to my dash to have a flip up monitor.... One day I'll take a picture. It looks more like an airplane cockpit.

There are 2 GPS', a Yaesu HF rig, a Kenwood UHF/VHF rig, Sirius Starmate, Pioneer CD, Cobra 18, a radar detector, plus the assorted mics and gizmos that go with all that stuff. Throw in my laptop and you have a sheer mess on your hands.
(But all the wiring is nice and neat and hidden!)

If you're interested in a fuse block and breaker, this is what I use:
http://www.globalsoftware-inc.com/coolerman/CoolKit4FuseBlock.htm

Top


Moderator:  Adam, fastdrmr, Gonzo-2, Smith 

shrockworks xterraparts
XOC Decal