Greetings XOC members. I am now a proud supporter of this site and resource.
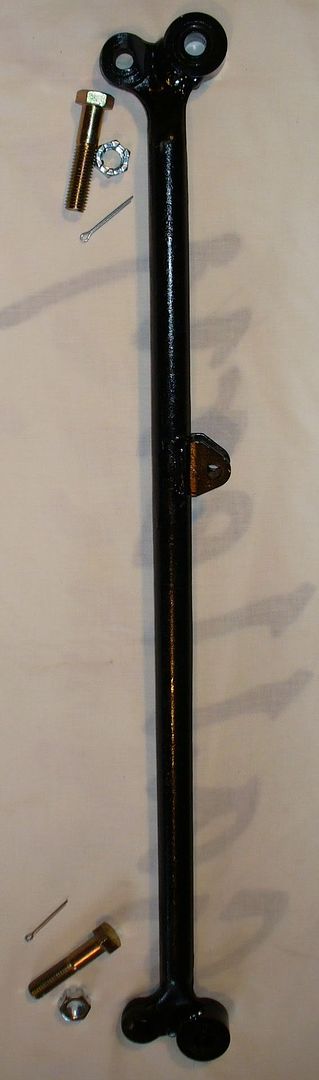
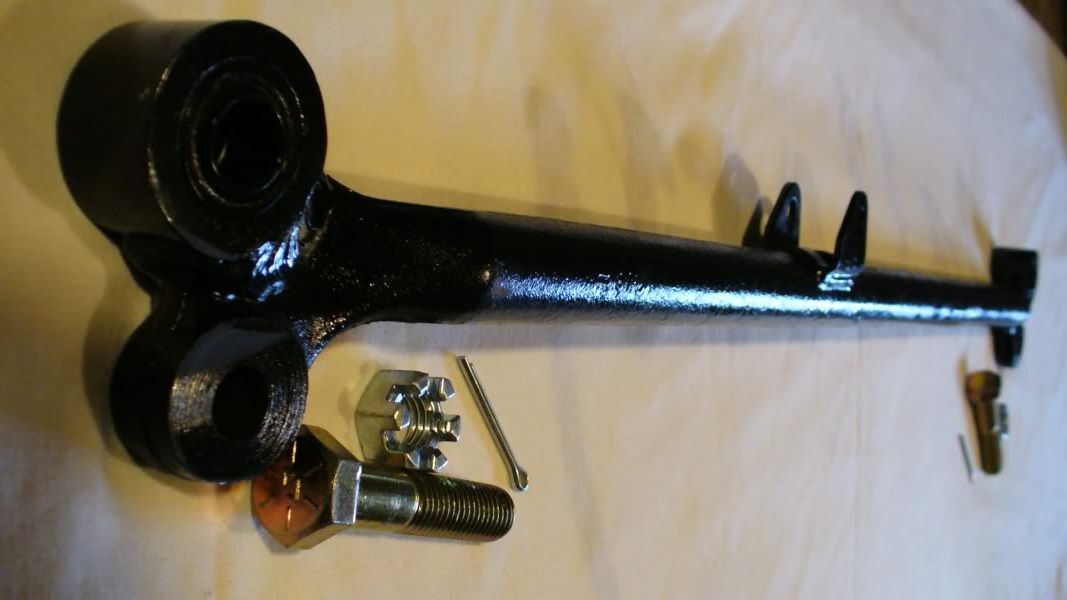
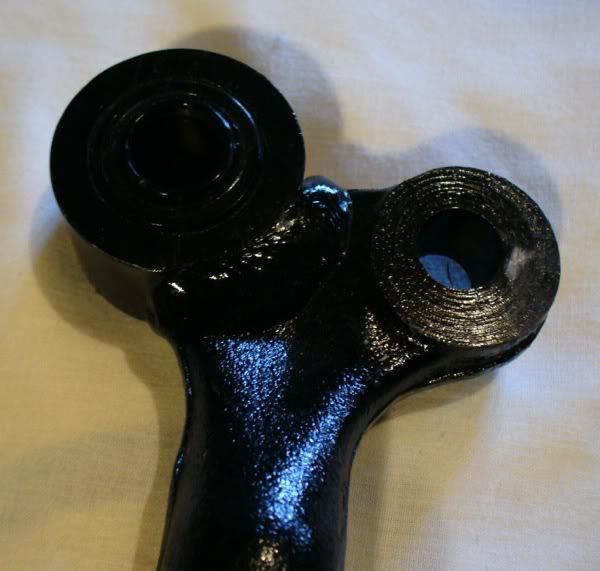
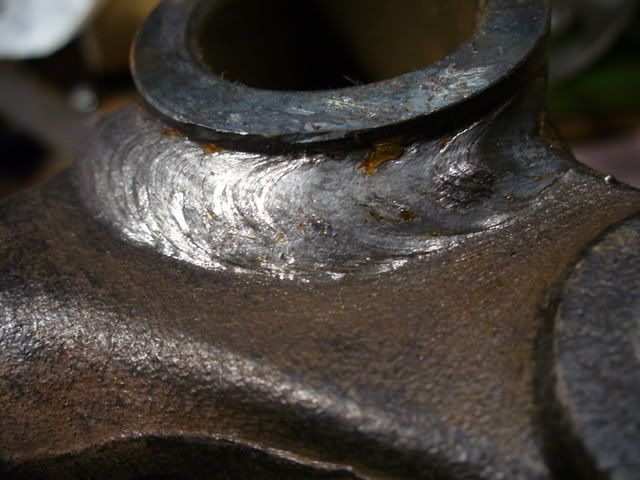
I am offering modified centerlinks for all Nissan trucks. Kits include a centerlink which has been modified with new machined sleeves and press fit teflon lined spherical bearings designed to operate under tens of thousands of pounds of force. Kits also include all necessary hardware. You will need to drill out your pitman arm and idler arm holes to 5/8".
Ordering instructions:I charge $225 with a $100 core fee. You can send in your stock CL and not have to deal with the core fee. If you pay the core fee you have
45 days to return the core to receive a refund.
Shipping to the lower 48 is free.
I accept paypal to the following address: rbcscapegoat@yahoo.com
Please include an extra 3% if you use paypal to cover their seller fees.
I also accept check or MO. I will wait for the check to clear before sending the link.
I don't offer multiple "stages" of kits. I have never seen evidence that this is necessary. In fact, everything I have seen and experiences points to the TREs being the weak point. The TREs will act as a fuse and will break/bend WAY before you run into the kind of forces that require double sheer pitmans and idlers.
I DO, however, recommend a simple idler arm brace if you plan to wheel or otherwise abuse your truck. I don't make idler arm braces.
I offer Hardbody, Pathfinder, Xterra and Frontier CLs. Give me a hollar at rbcscapegoat@yahoo.com if you are interested.
My centerlinks come shipped with all necessary hardware, including two grade 8 bolts drilled for cotter pins, two snazzy castle nuts, four washers, and two cotter pins. All hardware is heavy duty nickel or zinc plated stuff.
Installation instructions:Remove your old centerlink Step 1: Remove the four cotter pins securing the four 19mm castle nuts.
Step 2: Using a 19mm socket remove the four castle nuts.
Step 3: Use either a BFH or a tie rod end puller to pop loose the four ball joint studs. At this point the centerlink should be loose from both the idler arm and the pitman arm, and both tie rod ends should be out of the centerlink.
Step 4: Once the centerlink is removed please toss it back in the box, tape it up, and ship it back to me so I can make one for the next guy!
Drill the Idler and PitmanStep 1: Decide how you want to proceed. You have a few options. You can either do it yourself or have it drilled at a machine shop for a case of beer or send it to me and I'll drill it out and ship it back to you for free.
Step 2: If you decide to do it yourself you can drill the idler and pitman arm holes using a hand drill with the arms still on the vehicle (not recommended), or you can pull them off and do it in a drill press or a vise (I recommend doing this). 5/8" drill bits are available from hardware stores and big box retailers like Northern Tool or Tractor Supply. You are enlarging the stock tapered hole to 5/8" to receive the new grade 8 bolts. This is a much more difficult task than drilling thinner steel with a smaller bit. With bits larger than 1/2" you really have to turn the bit slowly or you will overheat it and ruin it in no time. It's really best to pull off the arms and drill them out using a drill press at low RPM. If you just run the 5/8" bit through using a standard single speed 1/2" hand drill at full speed you WILL burn up your bit before you can drill both holes. If you aren't comfortable doing this then plan on pulling the arms and taking them to the local machine shop or mechanic.
Install the new centerlinkStep 1: If you removed the pitman and idler arms, replace them now.
Step 2: Place the new centerlink ends above the idler and pitman arms and drop both bolts down through one washer each and through the centerlink end and the idler and pitman holes.
Step 3: Slide the remaining two washers over the bolts and tighten the castle nuts. You will need to torque these castle nuts down to 100 ft. lbs.
Step 4:
IMPORTANT insert the cotter pins through the castle nut slots and through the 1/8" hole which is predrilled through the bolt, and then bend the long part of the cotter pin back over the end of the bolt, to ensure that the centerlink bolts cannot loosen.
Step 5: Insert the tie rod ends into the centerlink through the bottom, torque them down, and replace their cotter pins. If the taper is reversed and they will not insert from the bottom, flip the centerlink over.
Congratulations, you are finished. Take the vehicle in for an alignment and enjoy!Please email me with any questions!
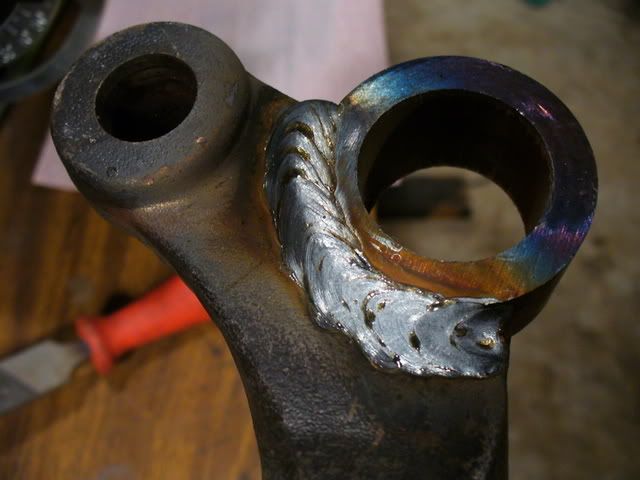
Here's a couple pics of the hardware that comes with my kits and a couple weld shots:


 Previous Topic
 Index
Index
