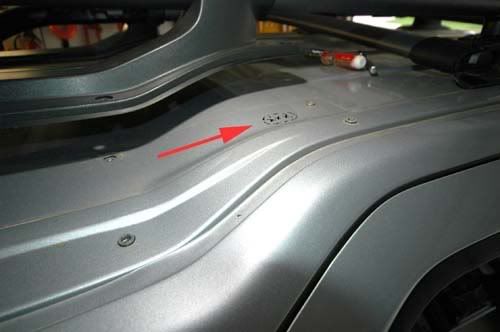
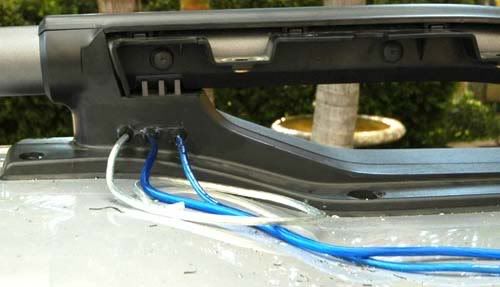
OK. Mechanical done ... save the all important hole in the roof.
So electrical started tonight as its pretty cool here tonight. I'm a retired US Navy Master Chief Electrician's Mate so I know a bit about 'trons.
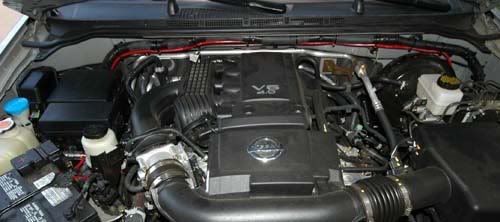
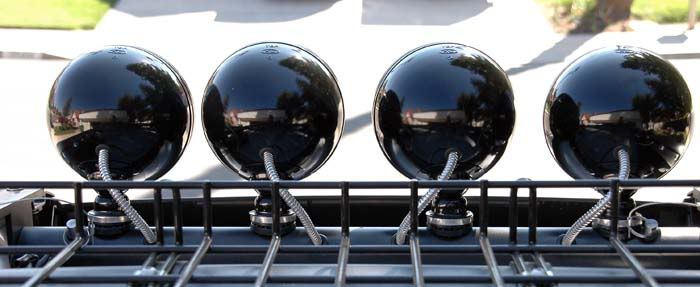
I need to run a battery fuse box up under the dash for these two sets of lights, a ham radio, and possibly some more junk. The poor alternator can't put out more than about 90 amps so I figure I can't steal any more than about 70 of them and still keep the SUV actually running.
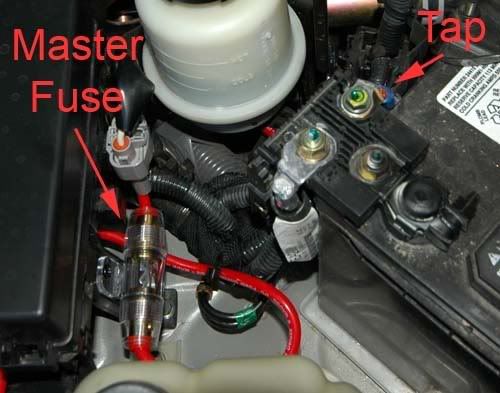
70 amps means 8 gauge wire to the fuse box so I used one of the two mounting posts on the battery positive side and ran 8 gauge cable first to a 60 amp fuse and then along the top of the firewall to an empty grommet hole behind the power steering pump area.
Here's the details on the battery area. I drilled and mounted the 60 amp master fuse to the plastic post that holds one of the two under hood fuse boxes. You want to make these connections very tight as there is a bunch of power flowing through them. Loose connections heat up ... and melt stuff. The battery post had a bit of factory locktite so I put some on after tightening down the connections there.
The grommet side. Put a bit of a drip loop here so that if water follows the wire it doesn't come up against the grommet. (The port side is the driver's side for you land lubbers)

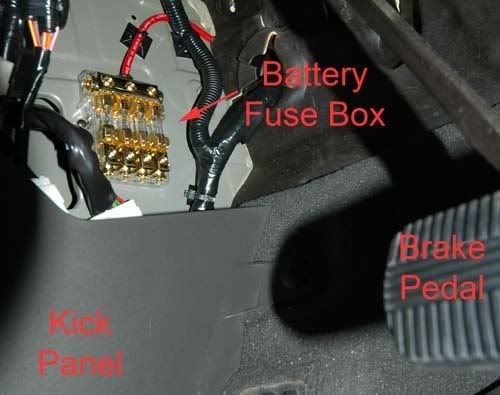
Now to the inside where I mounted the fuse box. I used a gold plated (pimping ain't easy) four fuse box. I'll use 25 amp fuses for the 300 watt (22 amps) and the 260 watt (20 amp) light sets. I put a couple of small screws into the metal here, you don't want anything near your feet sliding around. The four fuses have their outputs running downwards toward the kick panel. I'll mount the lighting relays just above the fuse panel as I'll typically never have to get to them again.
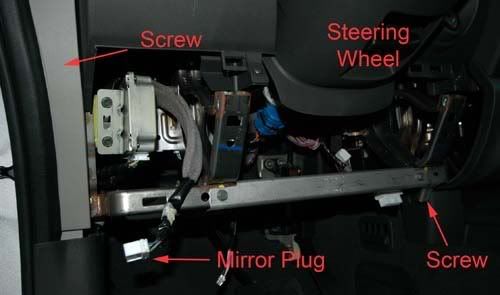
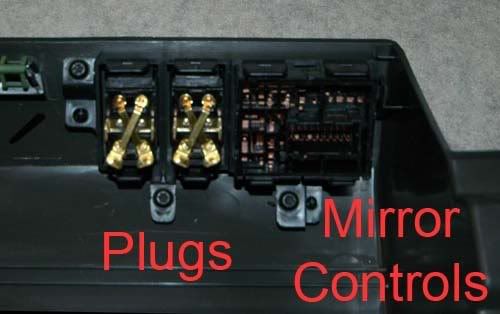
The KC's come with some fairly nice under dash switches but I wanted something a bit better so I ordered up some custom switches from 4x4mods.com for $10 each. To mount them you have to pull the panel out from under the steering wheel. Simple enough - pull out one screw that is visible near the code reader on the starboard side. Then pull the weather stripping out a bit, tug on the trim piece just along side the dash to expose one hidden screw under it (see arrows below). Anybody know what the plug just under the letter "M" in mirror is for? The mirror plug was firmly attached but this second plug was just rattling around loose. :rolleyes:
The plugs come out by lifting four clips with the blade of a knife or flat blade screw driver.
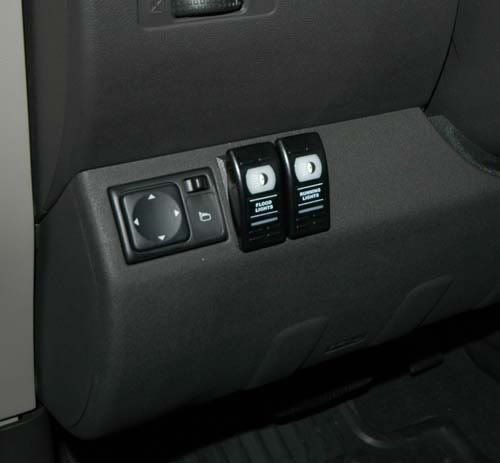
The switches just slide in as perfectly as you could ever want. They're nice and beefy and give a really good postive click. There are LEDs inside to indicate when the lights are on.
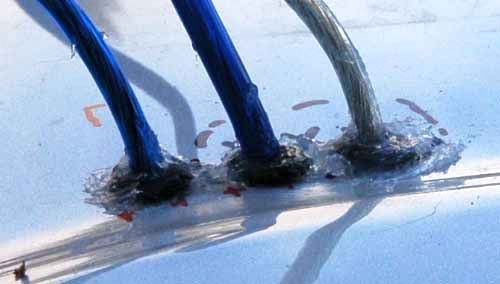
It got dark, I got tired and quit for tonight. Next I'll run the 12 gauge (rated for 40 amps) cables along the driver's side kick panel, along the door sill and then up the "B" pillar to the roof line for the ever exciting hole in the roof posting.


![[ThumbsUp]](graemlins/thumbsup.gif)


 Previous Topic
 Index
Index